Concrete = Awesome!
Initial Planning:
When I began the process of designing our kitchen durability was top priority for the counter tops. Next priority of course was budget :-) I was initially looking at Carrara Marble. Loved the look for BUT.... The draw back was the problem of staining. 4 young kids and marble probably wouldn't fair well over the years. I loved the thought of some wear and tear but didn't know if I would panic when grape juice got left out and made a ring on the marble ;/
Concrete: I had seen other people do concrete and read lots of reviews. It appeared durable but those who tried it with out a professional seemed to have issues. Many people create moulds, pour and then set the pieces in place. That looked a little too overwhelming to me(too many variables that could all go very wrong!).
I came across
Concrete Countertop Solutions in my research. The reviews were good and the youtube videos they had were excellent and very helpful to see how easy it might be for the DIY'er.
Their customer service is AWESOME! They respond to questions normally within a day by email.
Tools:
Screeds: A screed is important for the first initial pouring and smoothing of the concrete. You can get a screed at your local hardware store. We purchased their
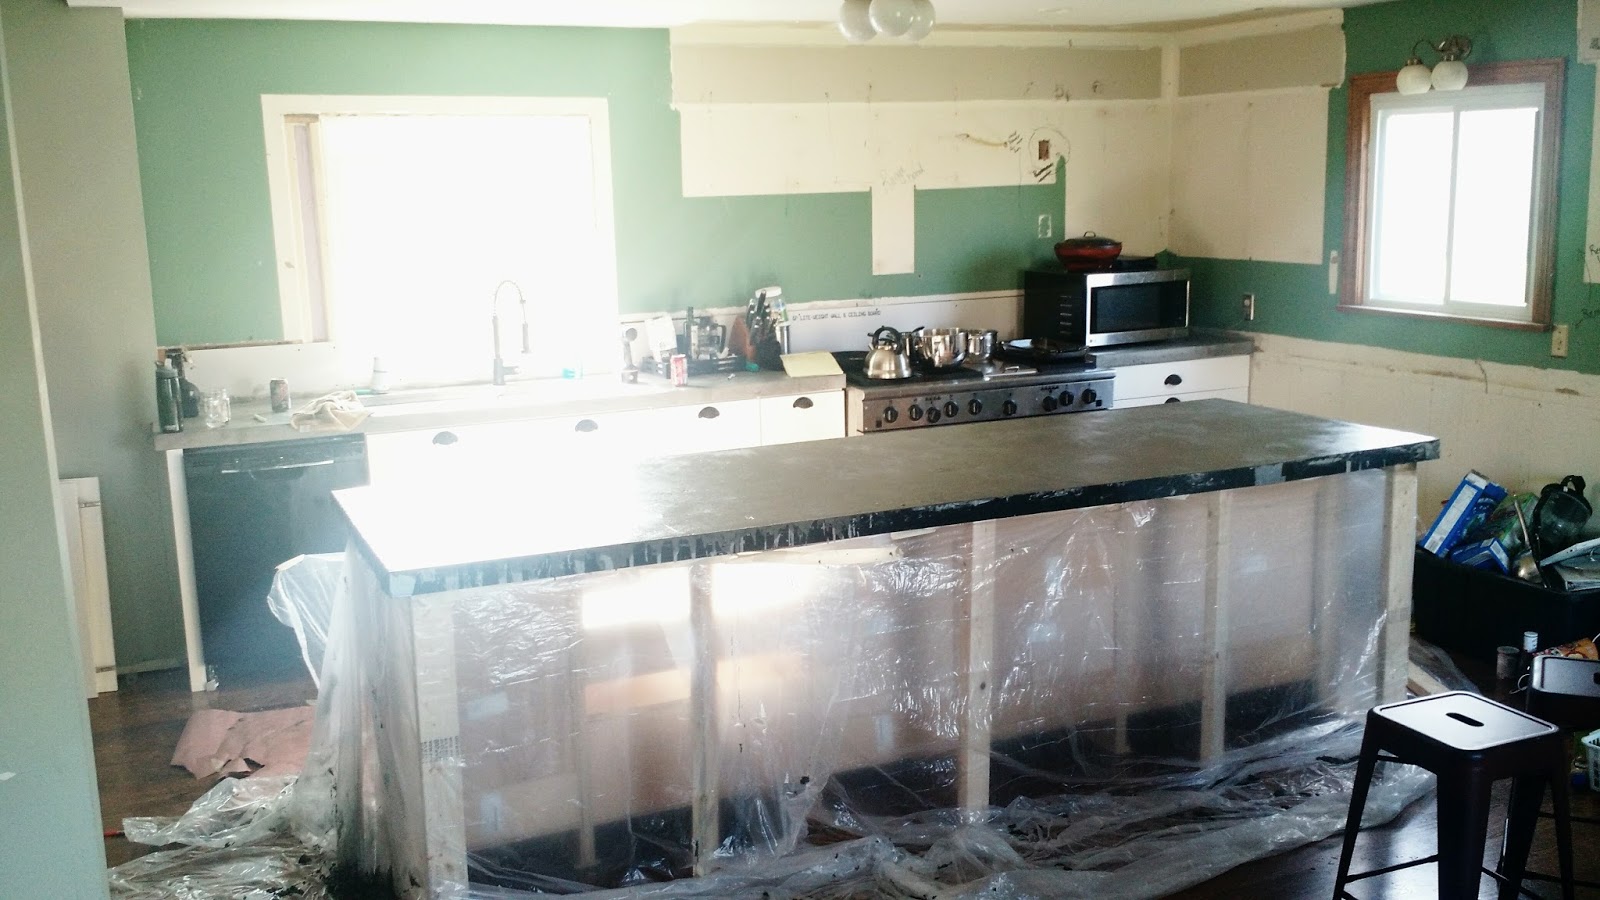
Island Screed for our 10Ft x 3ft Island. This was not needed and since the screed was only 40in wide we only had 2 inches on either side of the Island to move it back and forth(watch Concrete Countertop Solution videos on how to do this). We had the problem of the screed falling back into the concrete. I would recommend creating your own screed with a 2x4 for larger areas and don't waste your money on this one. My Island ended up having a little more rustic look to it than I had anticipated.
Drill: Make sure you have a drill that can be used to mix concrete. We burned up the first drilled we used :( We ended buying a Bosch that is made for mixing and then bought a mixer bit. If you have a friend you can borrow one from that is even better!
Trowels:
A
Magnesium Trowel is needed for the first troweling step. PLEASE watch Concrete Countertop Solutions videos on troweling. I watched them probably at least 25 times before attempting this. This float can be purchased at Home Depot as well.
Steel Trowel is much cheaper at Home Depot than through this company. I steel troweled too early on my countertop and had some issues with my stain and sealer sticking. So please make sure you watch the videos and don't do it too early.
FORMS:
We chose the square edge
form since I wanted a more basic and simple style. Forms were very simple to take off. Had to give it a little muscle to get it off but overall very pleased with the forms. We had some bubbling holes where we didn't get all the air out of the concrete with tapping as they suggested in their videos. We liked the more natural look so we kept them.
The
sink form video was helpful except that it was for a sink with slightly rounded corners. Our sink was a 42" sink(
see review on the sink we chose) with tighter corners it was a little more challenging to get the work to stick to our sink. We used a broom handle to help bend the plastic so it would fit tighter in the corners.
In this picture you can see where the side of the cabinets on the ends touches the walls(not the back)
Side walls: Here is where we couldn't find any info on what to do with this wall whether to use the back forms or whether to put the concert right up to the wall. If you're putting backsplash on then you can use the back wall forms but if you're leaving it just drywall don't use the forms. I'll need to get creative now on the sides of my counter top edges because I have a black form showing :/
I'll be posting about these tools in part 2
Reinforcement
Sanding
Stains
Sealers
Backsplash and Range Hood Coming soon!